Step-by-step instructions on how to sign-up and onboard
Their onboarding process is designed to be user-friendly, ensuring first-time users can quickly begin.
To onboard as a customer, kindly follow these steps:
Sign Up
First, please sign up with your accurate first name, last name, and email address on the Sign Up page. Then, click “Sign up” to proceed.

Confirmation Email
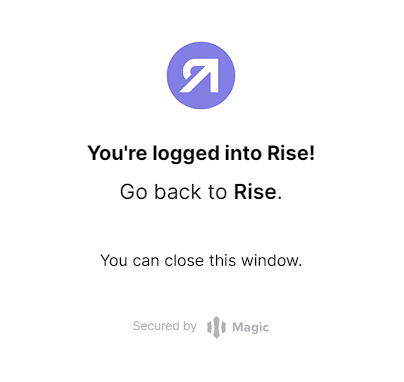
After signing up, you’ll receive an email with a button to log in and start the onboarding process. Please keep in mind that this button expires within 20 minutes. This method will be used whenever you want to log in to your account. It adds an extra layer of security, ensuring that even if someone somehow discovers your password, they won’t be able to access your account.
Onboarding Process
Click the button in the confirmation email to begin the onboarding process. You’ll be directed to the following screen:
Account Type Selection
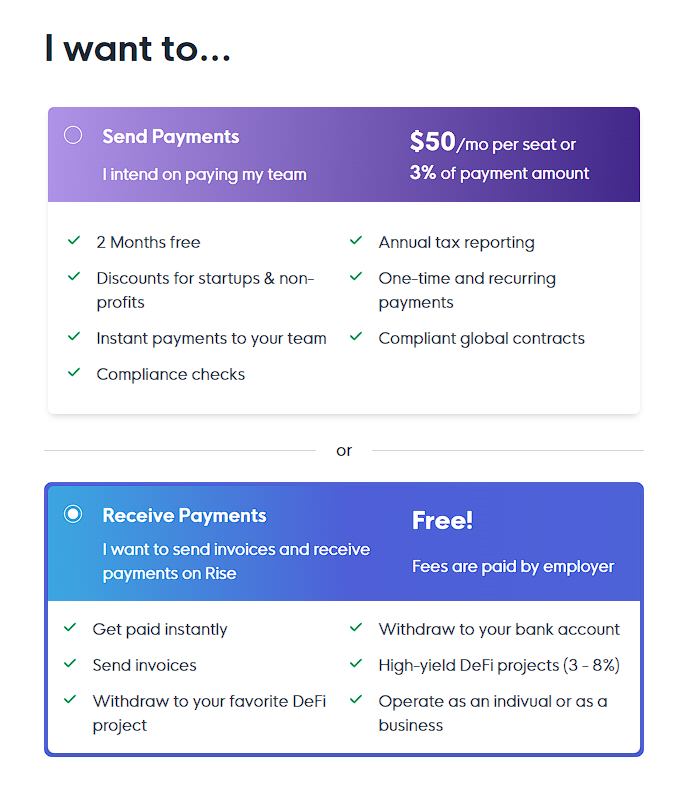
In the first step of onboarding, you’ll need to choose the type of account you want: “Receive Payments” (which is free) or “Send Payments.”
To receive payments, you must select the “Receive Payments” option.
Personal Information
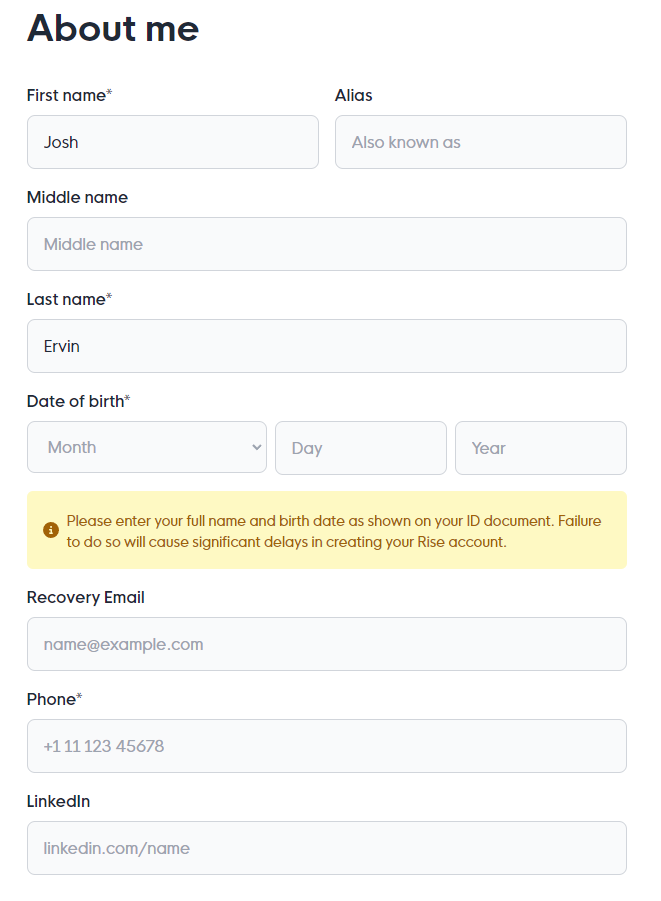
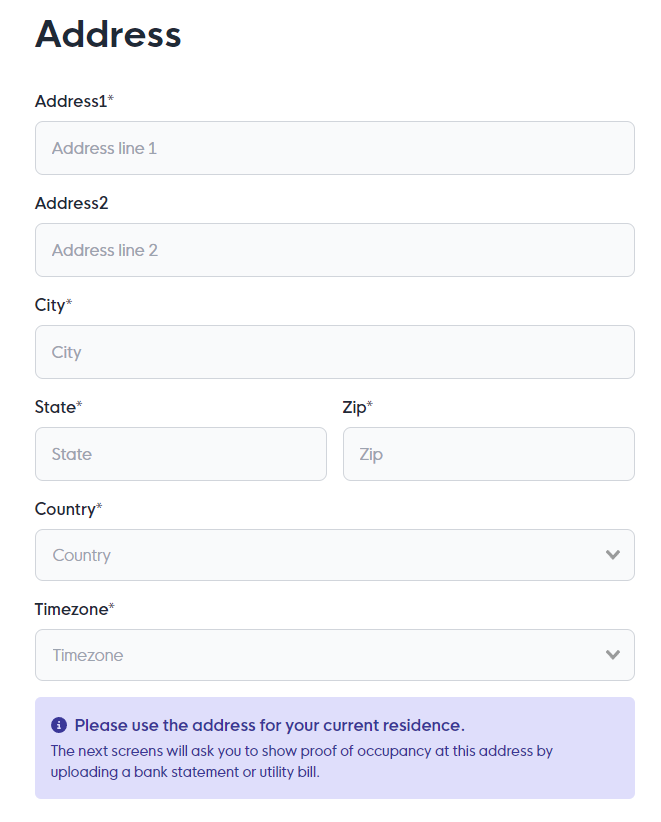
Next, you’ll be asked to provide information about yourself. Please ensure you fill in all mandatory fields (marked with an asterisk) accurately; this information is essential for later steps. If you make any typos during this part, please look at the help section for guidance.
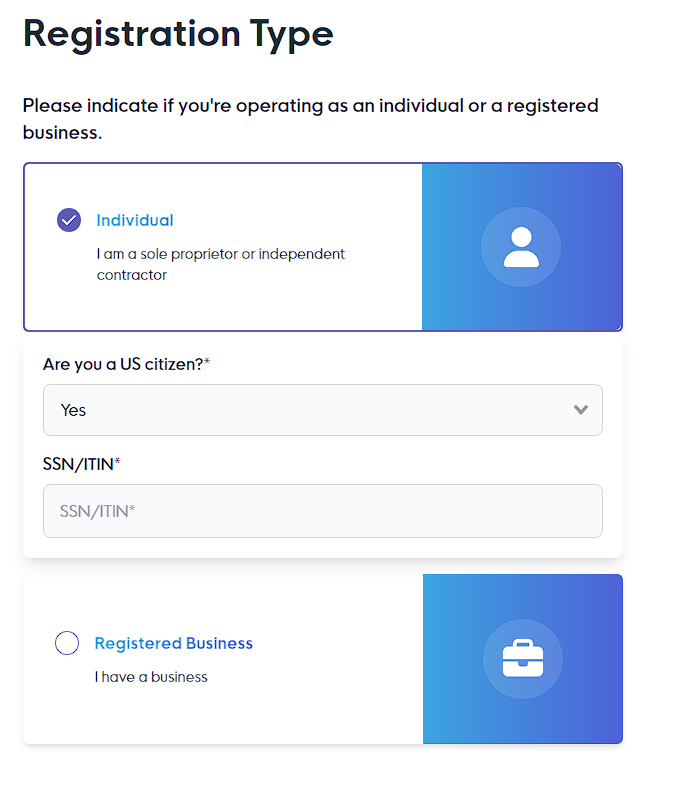
Registration Type
Select whether you’re an individual (independent contractor) or a business. For US citizens, you must enter the SSN/ITIN number; for non-US citizens, you’ll need to enter your tax ID, which corresponds to your country’s ID (this can vary according to the country but is typically the exact number used for social security). If you choose the “Business” option, we will ask for your company’s name, size, address, and other necessary information at a later stage.
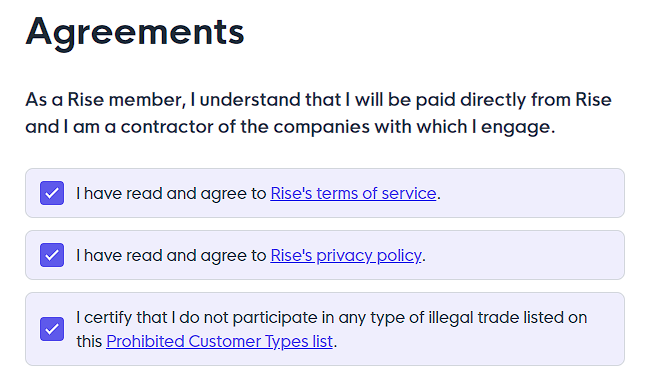
Agreements
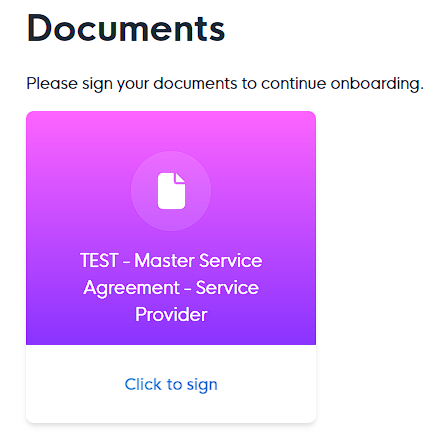
Documents
In the documents section, you must sign the Master Service Agreement SP. This agreement validates the relationship between Rise and yourself.
Identity Verification (KYC)
The next step is identity verification, known as KYC (Know Your Customer). You’ll be asked to provide:
- An ID
- A selfie of yourself
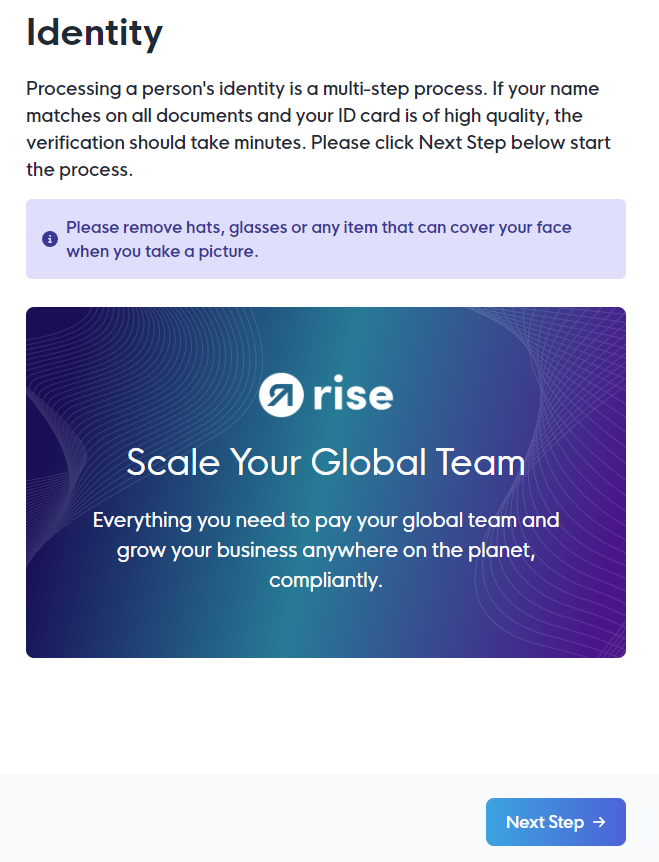
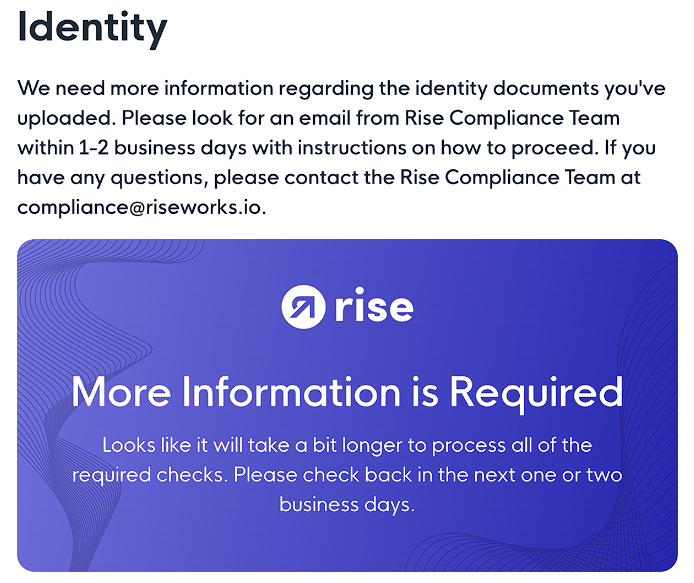
This step is crucial to ensure the security of your account. Feel free to check out Rise’s website if you’d like to know more about it. The verification process is automated, but you might be directed to the manual processing screen. This indicates that their compliance team will email you with more instructions if you are okay with it.
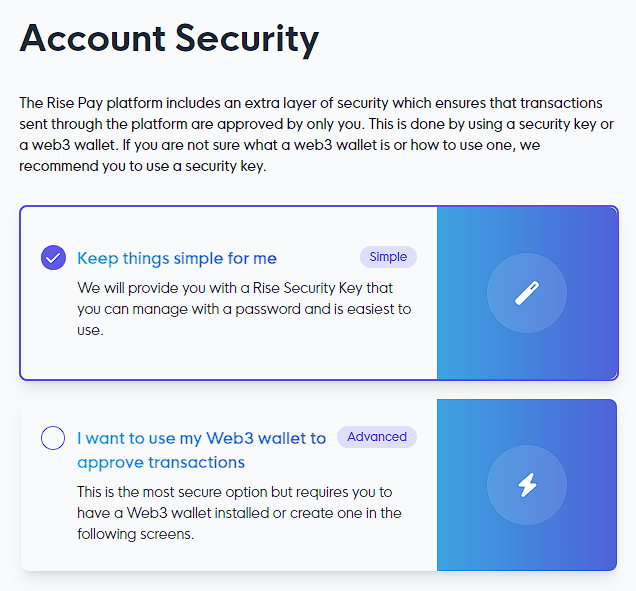
Creating Your Rise ID
After successful verification, a Rise ID will be created. You can make it using a password known as the “Rise Security Key.” Alternatively, if you have a trusted wallet, you can connect it to your account. You can find more information about the Rise ID and adding wallets to your account in the help articles here and here.
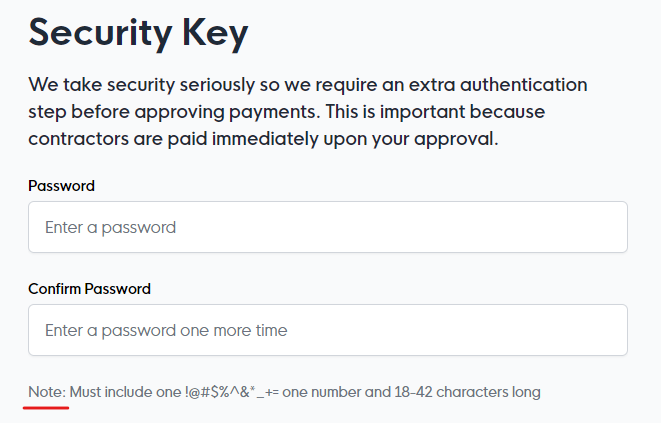
Creating a Rise Security Key (Simple):
For the password, please design it in a way that spans between 18 to 42 characters. It should incorporate at least one unique character (!@#$%^&*_+) and one numerical digit.
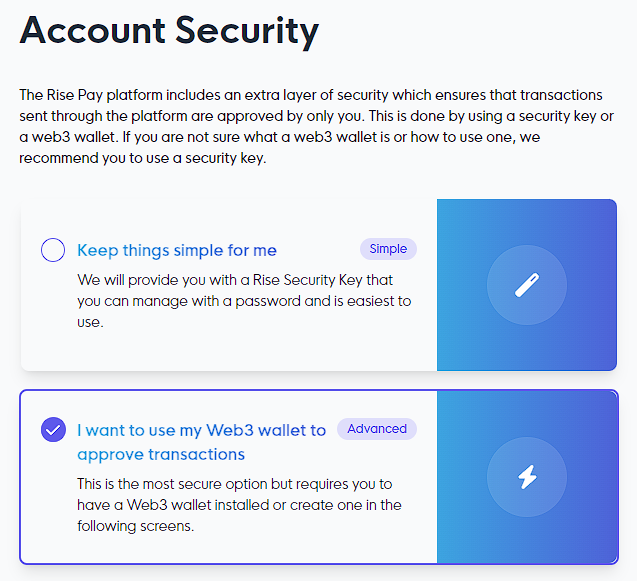
Connecting a web3 wallet (Advanced)
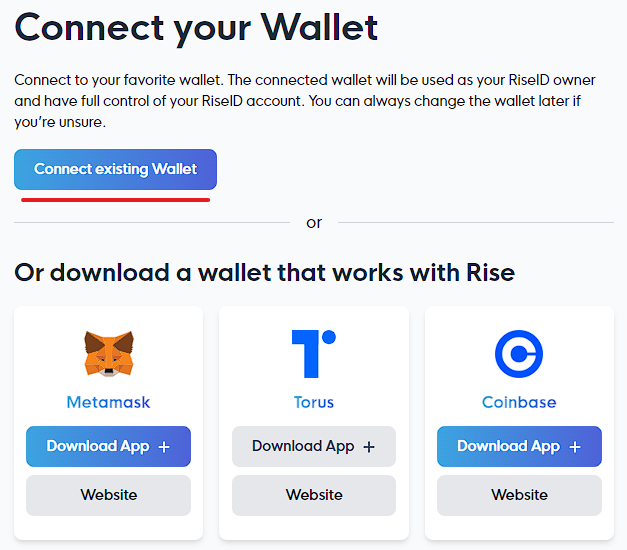
Recovery Code
You’ll be redirected to the Recovery Code page once you create the Rise ID with the Rise Security Key. This code consists of an individual combination of 12 words used to recover your account if needed. It is crucial to save this code offline and never share it with anyone, as it holds the same significance as a MetaMask wallet recovery code.
Accessing the Rise App
After setting up your password and recovery code, you’ll be redirected to the Rise app, where you can take advantage of all its features.
That’s it! You’ve completed the onboarding process with Rise. To learn more about Rise and its features, you can check out additional help articles here and stay updated with the latest announcements on the Rise blog. Welcome aboard!